
A repair estimate after a crash can feel like a wall of confusing codes, part numbers, and labor hours that never quite add up in your head. Understanding what each line item actually means helps you spot a fair quote, avoid unnecessary upsells, and know when a shop is cutting corners. This guide breaks down the real components of a total repair bill so you can walk into any conversation with an adjuster or estimator feeling informed rather than intimidated.
Understanding the Structural Damage Assessment Line Items
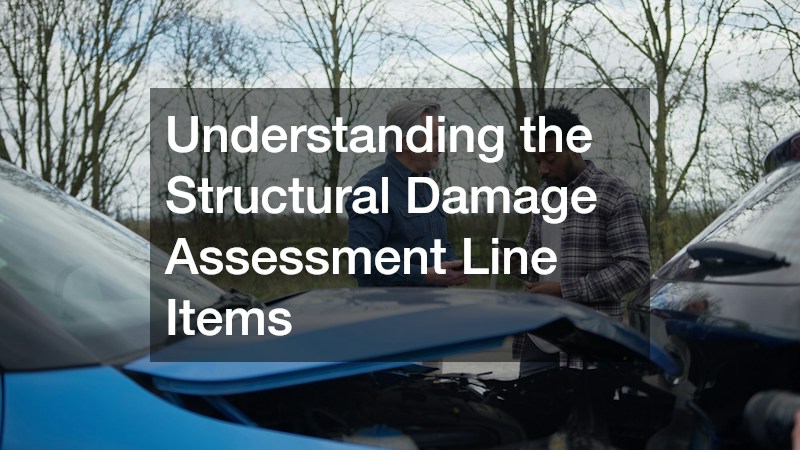
Every repair bill starts with an inspection that determines how deep the damage actually goes, and this is where the biggest cost swings happen. A car accident often causes damage that isn’t visible from the outside, like bent frame rails, misaligned subframes, or crumpled crash structures hidden behind bumpers and fenders. Technicians use laser measuring systems to compare your vehicle’s current dimensions against factory specifications, and any deviation gets documented as a separate charge. This measuring process, often called a “tram gauge” or computerized frame check, typically costs between $80 and $250 on its own, even before any repair work begins. It’s a necessary step because misalignment of even a few millimeters can throw off wheel geometry, airbag sensor calibration, and crumple zone performance in a future collision. Shops document these findings with printouts showing exact measurements against manufacturer tolerances, which insurance adjusters require as proof before approving further work. Once the scope is known, the bill usually breaks structural work into distinct line items rather than one lump sum. You might see separate charges for frame straightening (pulling the unibody or frame rails back into spec using hydraulic equipment), subframe replacement if the damage exceeds repair tolerances, and welding labor for replacing structural panels like rockers or radiator supports. Labor rates for this category tend to run higher than cosmetic bodywork, often $75 to $120 per hour, because it requires certified technicians and specialized equipment. Some shops also add a line item for post-repair measurement verification, essentially re-running the laser check to confirm the frame now matches factory tolerances before the car moves on to paint and reassembly.
These assessment fees are not padding, they are the foundation for every other estimate on the bill. A structural technician typically uses a computerized measuring system to check the frame and unibody against factory specifications, looking for deviations as small as a few millimeters that the naked eye would never catch. That line item usually covers diagnostic time, the printout comparing your vehicle’s measurements to manufacturer tolerances, and the technician’s written notes on what needs pulling, sectioning, or replacing outright. On many estimates this runs anywhere from $150 to $400, depending on the shop and whether they need to remove trim or drivetrain components to get an accurate read. Skipping this step to save money often means missed damage that surfaces months later as steering pull, uneven tire wear, or wind noise. It can also mean a compromised crumple zone that won’t perform correctly in a second collision, since a frame that’s off by even half an inch can change how crash forces travel through the car. Insurance adjusters sometimes push back on structural measuring fees, treating them as optional. Ask the shop to document the pre- and post-repair measurements in writing; that paperwork protects you if hidden damage shows up later and becomes the basis for a supplemental claim.
- Frame measurement and diagnostic scanning: laser or ultrasonic measuring systems check frame dimensions against factory specs, often down to the millimeter
- Computer diagnostic scans read onboard sensor and module codes, catching electronic faults airbags or ADAS cameras may have triggered
- Suspension and alignment checks: technicians inspect control arms, struts, and bushings for stress cracks or bends invisible to the eye
- Wheel alignment readings confirm camber, caster, and toe angles fall within manufacturer tolerances after impact
- Hidden damage documentation photos: panels are pulled back and undercarriage inspected to capture damage not visible from a walk-around estimate
- These photos support insurance claims by proving damage exists beyond the initial visible dent or scrape
- Pre-existing damage notes: adjusters compare current condition against prior repair records, DMV history, or old claim photos
- This separation protects both parties, ensuring the insurer isn’t billed for rust, wear, or unrelated collision history
Breaking Down Parts Costs and Sourcing Options
The parts section of your bill usually carries the most variability because there are several tiers of replacement components a shop can use. Original equipment manufacturer parts cost more but match your car’s factory specs exactly, while aftermarket or recycled parts can bring the total down significantly without always sacrificing safety. Your insurance policy often dictates which tier gets used, so it’s worth asking your adjuster directly rather than assuming the shop chose the cheaper option on its own.
Sourcing also affects how long your car sits in the shop, since specialty components sometimes take weeks to arrive. This is especially true for trucks and larger vehicles, where a truck repair shop may need to order heavy-duty brackets, mounts, or drivetrain pieces that aren’t kept in regular inventory. Always ask for a written breakdown showing exactly which parts are new, used, or remanufactured before you sign off on the estimate.
Evaluating Labor Rates and Time Estimates
Labor is calculated differently than most people expect, using standardized time guides rather than the actual clock hours a technician spends on your car. These guides, published by companies like Mitchell and Motor, assign a fixed number of “labor hours” to each specific task, from replacing a bumper to blending paint on a fender. A job listed at three hours might take a skilled technician two hours or a less experienced one four, but you’re billed the guide’s flat rate either way. This system exists to create consistency across the industry, but it also means efficient shops can be more profitable while slower ones absorb the difference. Insurance adjusters typically reference these same guides when approving estimates, which is why your repair order lists distinct line items like “R&R bumper cover — 1.5 hrs” or “blend adjacent panel — 0.8 hrs” rather than a single lump labor charge. Shops set their own hourly labor rate based on region, equipment investment, and technician certification level, which is why the same repair can cost noticeably different amounts across town. A rate might range from $50 an hour at an independent shop in a rural area to well over $120 at a dealership-certified collision center in a major city. Specialized work, such as aluminum body repair, ADAS calibration, or paintless dent repair, often carries its own separate labor rate, since it demands specific tools and training beyond general bodywork. When comparing estimates, it’s worth asking whether the shop’s labor rate is negotiated with your insurer or billed independently, since a mismatch between the two is a common source of out-of-pocket surprises.
It helps to ask whether the labor rate quoted covers just bodywork or also includes mechanical, electrical, and refinishing labor separately. Some estimates bundle everything into one number while others itemize each category, and neither approach is wrong, but you want to know which one you’re looking at. The distinction matters because these rates aren’t always the same dollar figure. A shop might charge $55 an hour for bodywork, $95 an hour for mechanical repairs, and $50 an hour for refinishing, since each task requires different skill levels, tools, and certifications. If your estimate lumps all labor into a single blended rate, ask the shop to break it down so you can see what you’re actually paying for each type of work. Time estimates deserve just as much scrutiny as the rates themselves. Repair estimating software often generates standardized time allowances for tasks like replacing a bumper or blending paint on an adjacent panel, but actual labor hours can run higher if there’s hidden damage, rust, or misaligned parts discovered mid-repair. Ask whether the quoted hours are based on the software’s default figures or on the technician’s own assessment after inspecting your vehicle. It’s also worth checking how refinishing time is calculated, since paint work is billed differently than structural or mechanical labor. Some shops charge a flat “paint hours” figure per panel, while others factor in blending time for color matching on adjacent sections. Knowing which method your shop uses can help you understand why two estimates for the same damage might differ by several hundred dollars.
- Body labor for panel replacement and structural work, typically billed at $50-$75/hour and estimated using standard repair time guides
- Mechanical labor for suspension, steering, or drivetrain repairs, often billed at a separate (usually higher) rate than body work
- Refinish labor for painting and blending, which includes prep time, clear coat, and color matching—frequently a major cost driver on multi-panel jobs
- Diagnostic labor for scanning onboard computer systems, needed to check for hidden electronic or sensor faults after impact
- Frame and alignment labor for measuring and correcting structural components on a frame machine
- Calibration labor for recalibrating ADAS features like cameras and radar sensors after windshield or bumper repairs
Accounting for Brand Specific Repair Requirements
Not every car gets repaired the same way, and manufacturer specific procedures can add cost lines that surprise people unfamiliar with modern vehicle engineering. Subaru collision repair, for example, often requires recalibrating the EyeSight camera system after any front-end work, since the cameras control adaptive cruise control and lane departure warnings. Skipping this recalibration can leave safety systems misaligned even if the bodywork looks flawless.
Manufacturers publish specific repair procedures that dictate everything from welding techniques to adhesive types, and a certified shop follows these to keep your warranty and safety ratings intact. If your estimate doesn’t mention calibration or manufacturer procedures at all, it’s worth asking why, especially for vehicles with advanced driver assistance features.
Recognizing Mechanical and Comfort System Repairs
Collisions don’t just bend metal, they can also knock loose or damage systems that have nothing to do with how the car looks. A hard impact near the front of the vehicle can rupture refrigerant lines or damage the condenser, which is why auto AC repair sometimes shows up on a bill that otherwise reads like a cosmetic job. Climate control components sit close to the radiator support and bumper beam, making them vulnerable even in moderate speed collisions.
If your car blows warm air or the compressor won’t engage after a crash, don’t assume it’s unrelated to the accident just because the estimate didn’t originally include it. Ask the shop to pressure test the system before you leave with the vehicle, since a slow leak might not show symptoms for days.
Comparing Paint and Refinishing Charges
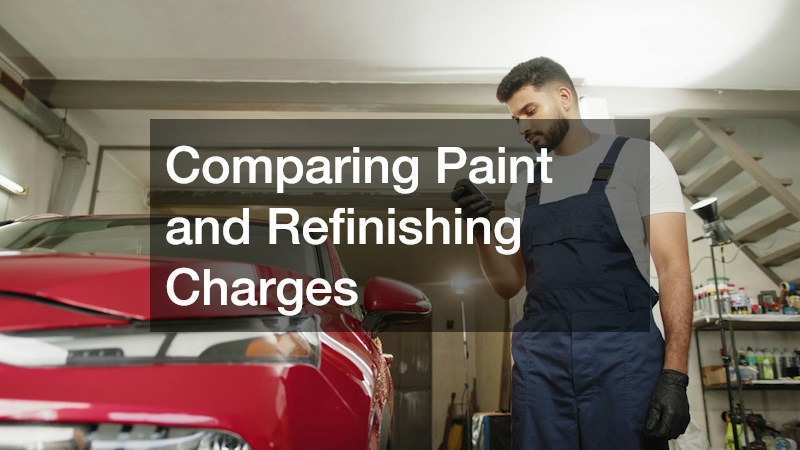
Paint work is billed by the panel and by the complexity of the color match, and this section of the bill often confuses customers because it looks disproportionately high compared to a single scratched fender. Modern finishes use multiple layers including primer, base color, and clear coat, and each layer requires its own drying and curing time inside a temperature controlled booth. Metallic and pearl finishes cost more to blend because they require additional passes to match the factory shade under different lighting conditions.
A reputable auto body shop will show you exactly how many panels need paint versus blending only, since blending an adjacent panel to hide a color transition is a common and legitimate practice rather than a way to inflate the bill.
Weighing the Value of Protective Coating Add-Ons
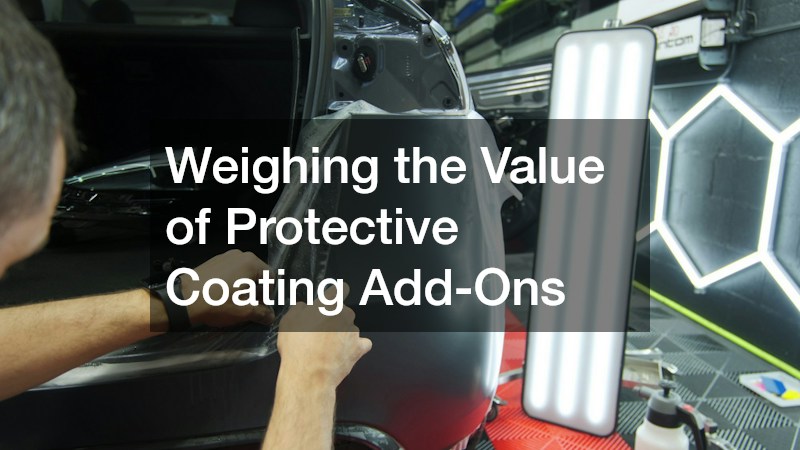 Once your car is repaired and repainted, some shops offer protective treatments as an optional add-on rather than a required repair item. Car ceramic coating creates a hydrophobic layer over the clear coat that resists minor scratches, UV fading, and contamination from road grime, which can be especially useful on freshly painted panels that haven’t built up their natural protective oxidation yet. This isn’t a necessary repair, but many owners choose it to protect their investment right after a repaint.
Ceramic coating pricing varies based on panel count and product grade, and it’s usually quoted separately from the insurance claim since most policies won’t cover cosmetic upgrades. If a shop suggests it, ask for before and after examples and a written warranty period so you know exactly what you’re paying for.
Interpreting Heavy Duty and Fleet Vehicle Line Items
Trucks and larger vehicles carry their own unique cost categories that don’t typically apply to standard passenger cars. Diesel powered trucks involved in a collision may need engine mount inspections, exhaust realignment, or replacement components sourced specifically for their drivetrain, and cummins parts are a common line item on these bills given how widely that engine platform is used in medium and heavy duty trucks. These components often cost more upfront but are built for the higher torque loads these vehicles handle daily.
If you drive a work truck, ask whether the shop handling your repair has experience with commercial vehicles specifically, since the calibration, frame tolerances, and towing capacity requirements differ from a standard sedan repair.
Reviewing the Total Estimate Before You Approve Repairs
Before signing off on any repair order, take time to read through every category and ask questions about anything that seems unclear or duplicated. A full auto collision repair estimate should break down parts, labor, paint, and any specialty procedures into distinct sections rather than lumping everything into a single vague total. Request a copy of the itemized estimate for your own records, and keep it alongside your insurance correspondence in case questions come up later.
- Confirm which repairs are covered by insurance versus out of pocket
- Ask for a written warranty on parts and labor
- Verify the shop is using OEM or approved aftermarket parts as expected
- Request photos of hidden or structural damage before repairs begin
- Clarify the expected completion timeline in writing
A repair bill only feels overwhelming when you don’t know what each section represents, and now you have a clearer picture of where your money actually goes after a crash. Take that knowledge into your next conversation with an estimator, ask specific questions about parts, labor, and any specialty procedures, and don’t hesitate to request documentation for anything you don’t understand. Being an informed customer is the best way to make sure your car gets repaired properly and your money is spent where it matters most.